Using actual force and displacement sensors, the UNHT³ ultra-high-resolution nanoindenter analyzes a material's mechanical characteristics down to the nanoscale. Thanks to its unique active surface referencing technology, UNHT³ almost completely avoids the effects of compliance and thermal drift.
It is suitable for long-term measurements on various materials, from the atomic to the nanoscale, including polymers, extremely thin layers, and soft tissues. A vacuum chamber variant (UNHT³ HTV) is available for measurements at extremely low or high temperatures (up to 800 °C and 10-7 mbar).
Users can pair the UNHT3 head with another scratch or indentation tester on the Step platform to cover the nano, micro, and macro ranges completely. They can also add an AFM module to achieve comprehensive mechanical surface characterization with a single instrument.
Standard
- Measurements under ambient circumstances
- Variable temperature testing from room temperature up to 200 °C
HTV
- Vacuum atmosphere for improved heating control and protection for the indenter and sample against oxidation
- Completely automated process for reducing thermal drift
- Variable temperature testing from -150 °C to 800 °C
- Vacuum levels down to 10-7 mbar
Key Features
The Most Accurate Nanoindentation Tester
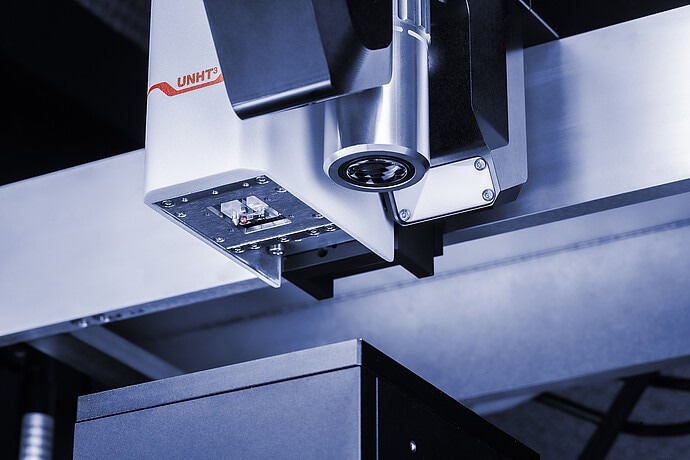
Image Credit: Anton Paar GmbH
UNHT³ uses two independent depth and load sensors to accurately quantify forces and indentation depth, unlike previous methods. UNHT³ provides the proprietary design of active top referencing: One reference indenter monitors the sample's surface location, while a measuring indenter takes the measurements, reducing thermal drift and compliance concerns.
This enables a diverse range of indentation depths (from a few nm to 100 μm) and loads (from a few μN to 100 mN).
The Nanoindenter with the Highest Stability on the Market
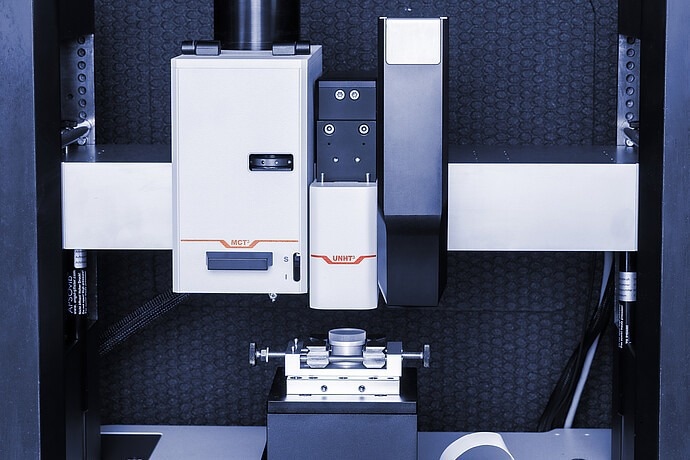
Image Credit: Anton Paar GmbH
UNHT³ is the first nanoindentation tester that achieves a low thermal drift of 10 fm/sec without depth correction, thanks to its unique patented active top surface referencing and Zerodur material with zero thermal expansion. The UNHT³ is the only nanoindentation tester capable of long-term measurements, including creep testing.
More than 600 Measurements Per Hour
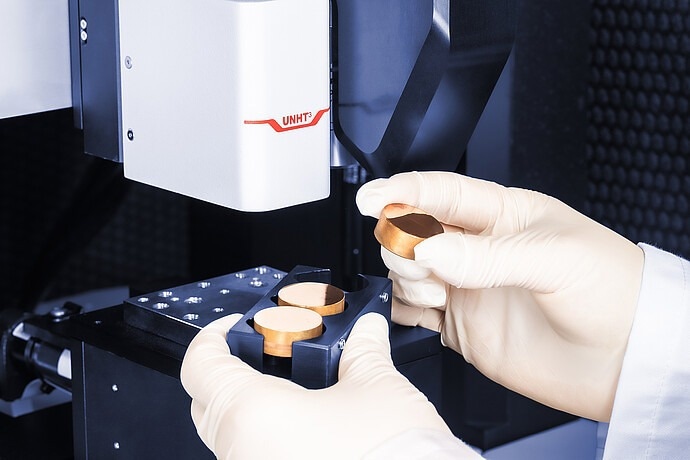
Image Credit: Anton Paar GmbH
The UNHT³ Ultra Nanoindentation Tester's thermal stability allows instantaneous sample measurement following installation, eliminating the need for hours of stabilization. Many samples can be measured independently during the day.
The Quick mode enables more than 600 hourly measurements with actual indentation curves. User profiles, measurement methods, multi-sample measurements, and configurable reporting provide the best throughput on the market.
Additional Dynamic Mechanical Analysis (DMA) with “Sinus Mode”
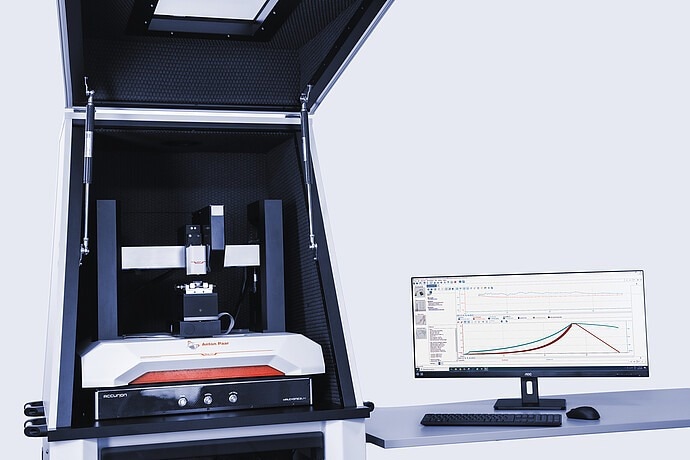
Image Credit: Anton Paar GmbH
The integrated Sinus Mode enables DMA analysis for depth profiling of mechanical characteristics (HIT, EIT vs. depth) and measurement of viscoelastic properties (E', E'': storage and loss moduli, tan δ) in samples ranging from thin films to bulk materials. The Sinus Mode also includes capabilities like rapid indenter calibration and stress-strain analysis.
Step Platform: Maximum Instrument Versatility
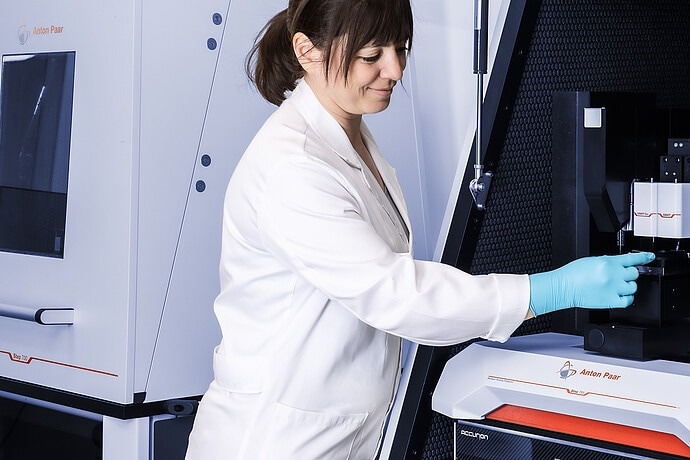
Image Credit: Anton Paar GmbH
The Step platform supports extensive mechanical surface characterization testing. Whether the user only wants to carry out nanoindentation experiments or supplement the results with scratch or AFM measurements, the Step platform is always the best option regarding stability, noise isolation, and adaptability.
Measurements Under High Vacuum and High Temperatures up to 800 °C
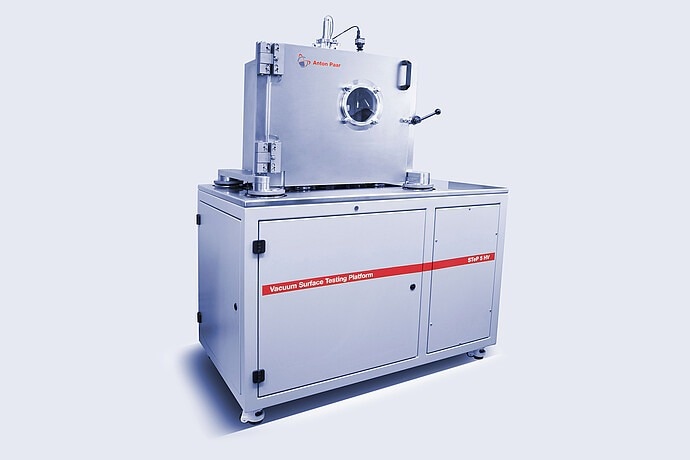
Image Credit: Anton Paar GmbH
The HTV version of UNHT³ is the first ultra nanoindenter with a completely automated method for avoiding thermal drift, achieving <3 nm/min over the temperature range. This is accomplished by a unique and proprietary heating management system that concurrently manages the sample and indenter temperatures with an accuracy of 0.1 °C.
The indentation software controls the heating and ambient parameters, interfacing with the machine in real time to reduce thermal drift and perform all needed measurements. Users can prepare a set of indents (also available with the conventional UNHT³) with various temperature increments, and the instrument will conduct the measurements according to the preset matrix.
Technical Specifications
Source: Anton Paar GmbH
| . |
. |
| Maximum load [mN] |
50 / 100(1) |
| Load resolution [nN] |
3 |
| Load noise floor [rms] [μN] |
≤0.05 |
| Loading rate [mN/min] |
Up to 1000 |
| Depth range [μm] |
50 / 100(1) |
| Depth resolution [nm] |
0.003 |
| Depth noise floor [rms] [nm] |
≤0.03 |
| Data acquisition rate [kHz] |
192 |
| Options |
| Heating stage up to 200 °C |
✔ |
| Liquid testing |
✔ |
(1) optional
Patents
Active top surface referencing for UNHT³: US 7,685,868 B2